
How to Make Weed-Infused Coconut Oil with an Herbal Infuser
Have you ever given much thought to making DIY cannabis treats?
While it can be great fun to get all of your cannabis tinctures, drinks, and edibles from your local recreational pot shop, this can get a little pricey if you are a frequent user. If you start from scratch with cannabis flower and infuse either alcohol-based tincture, oil, butter, or another fat-based product, you can create your own custom goodies - all while getting a little more “bang for your buck”.
This article will walk you through the steps of creating a cannabis-infused base. I will be walking through a recent kitchen lab project that I completed to turn standard, boring coconut oil into it’s cooler, sexier sister: cannabis-infused coconut oil!

Oooh la la!
Making my own cannabis bases (including tinctures, oils, and butters) has been a great approach for my life. When I can, I like to stick to a low-sugar diet, and so when creating these edibles, I can use sugar substitutes that are in alignment with my preferred restrictions. The end result is a low-guilt treat when I need a pick me up!
Note: I use a cannabis infuser (specifically the Mighty Fast Herbal Infuser) to create my cannabis-infused bases. However, if this is not something that you have handy in the cupboard, don’t stress! You can also use a stovetop or crockpot for the same result. There are some Youtube tutorials out there for using a stove or crock-pot, but let me know if you can’t find any that help, I’d be happy to create a post using these techniques in the future.
Getting Started
Decide What Base To Create
Prior to diving into your kitchen lab and just rolling up your sleeves, it’s important that you make the decision of what cannabis-infused base you are going to make. And this is really up to you, but I recommend keeping your intended end-use in mind:
For example, are you looking to create a cannabis-infused tonic that you can keep on your bar and serve to guests in cocktails when they come over? If so, then I would recommend creating a liquid alcohol-based tincture. Then, you can add few drops to a drink at any time (kind of like a shrub). Fancy, huh?
Or, if you are more interested in creating canna-treats, like pot brownies or small chocolates, then I would recommend creating a solid base, such as canna-butter or canna coconut oil. I have used liquid tincture in some of my canna treats in the past, but I have found that the liquidity of the additive can cause problems (such as watering-down brownie batter or causing chocolate/sweet concoctions to seize when cooked).
There’s benefit to infusing cannabis into fatty bases, such as butters and oils. Cannabis is fat-soluble, meaning that when infused in fat, the cannabinoid molecules that we appreciate so much have something to bind with, allowing them to be more bioavailable in the body.
Also - didja know? Eating fatty foods when you consume cannabis will also increase the bioavailability of the ingested cannabinoids. Science is amazing!
Measure and Set Out Your Ingredients
Personally, I’m a fan of the mise-en-place method when creating a cannabis-infused base. “Mise-en-place” literally means “set in place” and will make you feel extra fancy when you say it. Anyway, this method involves setting out all of your tools and ingredients before getting started. The benefit of setting out all of your accouterments prior to the infusion is that this can help you keep surfaces clean as you move about your kitchen. The whole process can get pretty oily, and so you don’t want to have to open up cabinets and drawers when you have canna-butter or oil all over your hands. And, if there’s a dog in your household, I’m assuming they may be prone to licking every surface they can reach. Keeping that in mind, it’s best to keep clean frequently during your project so you don’t accidentally send your pooch to Margaritaville.
I have historically used paper towels to keep clean during the process, but I think I’ll soon be investing in some eco-friendly dish towels that can help me keep tidy.

Look, you can see a cannabis-infused cocktail to the left. I wanted to make sure I was making a truly inspired product!

My selected strain: Blue Dream, a “sativa dominant hybrid”
You also want to make sure that you are taking, and recording, measurements as you step through this process.
I know, I know… measuring - ugh!
As someone who struggles with the patience required to bake, I know that careful measurement and execution doesn’t come easy to all of us; but, it’s important to remember that the more information you have about your homemade treats, the more you will be able to control the experience of eating them! I also find that accurate measurement and dosing is a MUST if you are going to be serving your treats with friends and family. Offering cannabis treats to friends and family is all about sharing a positive, connected experience - it’s not about giving them too much and turning them off to cannabis forever!
For my concoction, I used 34 grams of flower from Cowlitz County Cannabis Cultivation. This company displays the actual cannabinoid composition on the back of their packaging so users can interpret the potency of the cannabis. The key categories to look out for are the THC and CBD content, which will both impact the felt experience of the cannabis cultivar. THC (or THCa, in its acidic form) is the component responsible for the psychoactive experience of cannabis. CBD (or CBDa, the acidic form of CBD) will not be intoxicating but can be attributed to anti-inflammatory and stress-relieving effects.
Some cannabis labels will also include the terpene profile of the flower (however, the label pictured does not). Terpenes also impact how cannabis is felt in the body - for example, some terpenes can make you sleepy, others can make you happy, etc. One thing to keep in mind when cooking with cannabis is that the process of decarboxylating flower can burn off some of the more “uplifting” terpenes, which are the first to burn away. So, your end product could be a little more sedating than what the original terpene profile reflected. Your body will tell you when you try it!
Curious about terpenes? Check out my other article, “Your Terpene Questions, Answered”

Exactly 34.00 grams of flower
Note: I would recommend purchasing flower for your infusion process in the week(s) leading up to your lab project. For my cannabis-infused coconut oil, I used bud that was approximately 8 months old, and the end result tastes great; however, fresher input will result in a superior output.
“De-carbing” the Bud
Prior to mixing cannabis into your fatty base substance, it’s important that you first “de-carb” the weed. When I first heard of this term, “de-carb” I thought, “wait, does cannabis have carbs?” But no, it doesn’t. Still keto-friendly :)
De-carbing, or decarboxylation, has nothing to do with carbohydrates. Rather, decarboxylation is the process of heating the cannabis in order to activate the THC, the psychoactive component in cannabis. The acidic form of THC, THCa, is not psychoactive and therefore requires a chemical reaction to release the psychoactivity. This means that if you chomped down on a handful of bud without first de-carbing it, there would be no effect to your consciousness. When someone smokes cannabis, it is the act of lighting the plant on fire that turns THCa into THC and thus releases its psychoactive potential.
De-carbing is easy and can be completed in the stove.
Here are 6 simple steps:
Preheat the oven to 250℉.
Break down the flower with your hands.
Place flower into an oven-safe cookie sheet or casserole dish.
Bake the cannabis at 250℉ for 25-30 minutes.
Next, check on your cannabis flower. It should be light to medium brown in color and should be very dry. If it’s not, put it back in the oven for an extra 5-10 minutes. You’ll want to make sure it doesn’t burn too quickly.
Let the cannabis cool for 10 minutes.

Before and after de-carbing the flower
Word of warning: This process will make your home smell like cannabis! I live in a one-bedroom apartment, and so I was somewhat worried that the smell emanating from my stove during decarboxylation would make my neighbors think I was partying with Snoop Dogg. However, there are ways that you can limit the smell wafting out of your stove, including:
Turn on your oven fan
Light some intense!
Bring your air diffuser into your kitchen and plug it in close to your stove
Roll up a towel and place it against the door, on the floor to absorb smells. People do it… because it works!

Combining Cannabis and Your Base
Once you have activated the THC in your cannabis, you are ready to mix it into your fatty base! This step is particularly easy with the Mighty Herbal Infuser; essentially, all you have to do is add the base and the cannabis to the herbal infuser, stir with a spatula, and turn it on. Once you have added your ingredients into the herbal infuser, select one of the pre-set buttons and that’s it!
For my oil, I used the Mighty Herbal Infuser “Mighty Fast 2” setting which takes 90 minutes to process. During the processing phase, your kitchen will smell like warm oil, machinery, and a light hint of cannabis, too; I commented to my husband that the smell was not unlike the smell of making popcorn at home.

After mixing with spatula

Selected Mighty Fast setting
Finally, once the machine is done heating and combining the cannabis and oil, you will want to wait for the oil to cool down so that you can run it through a filtering cloth (ie: cheese cloth). This will allow you to separate any remaining plant matter from the oil.
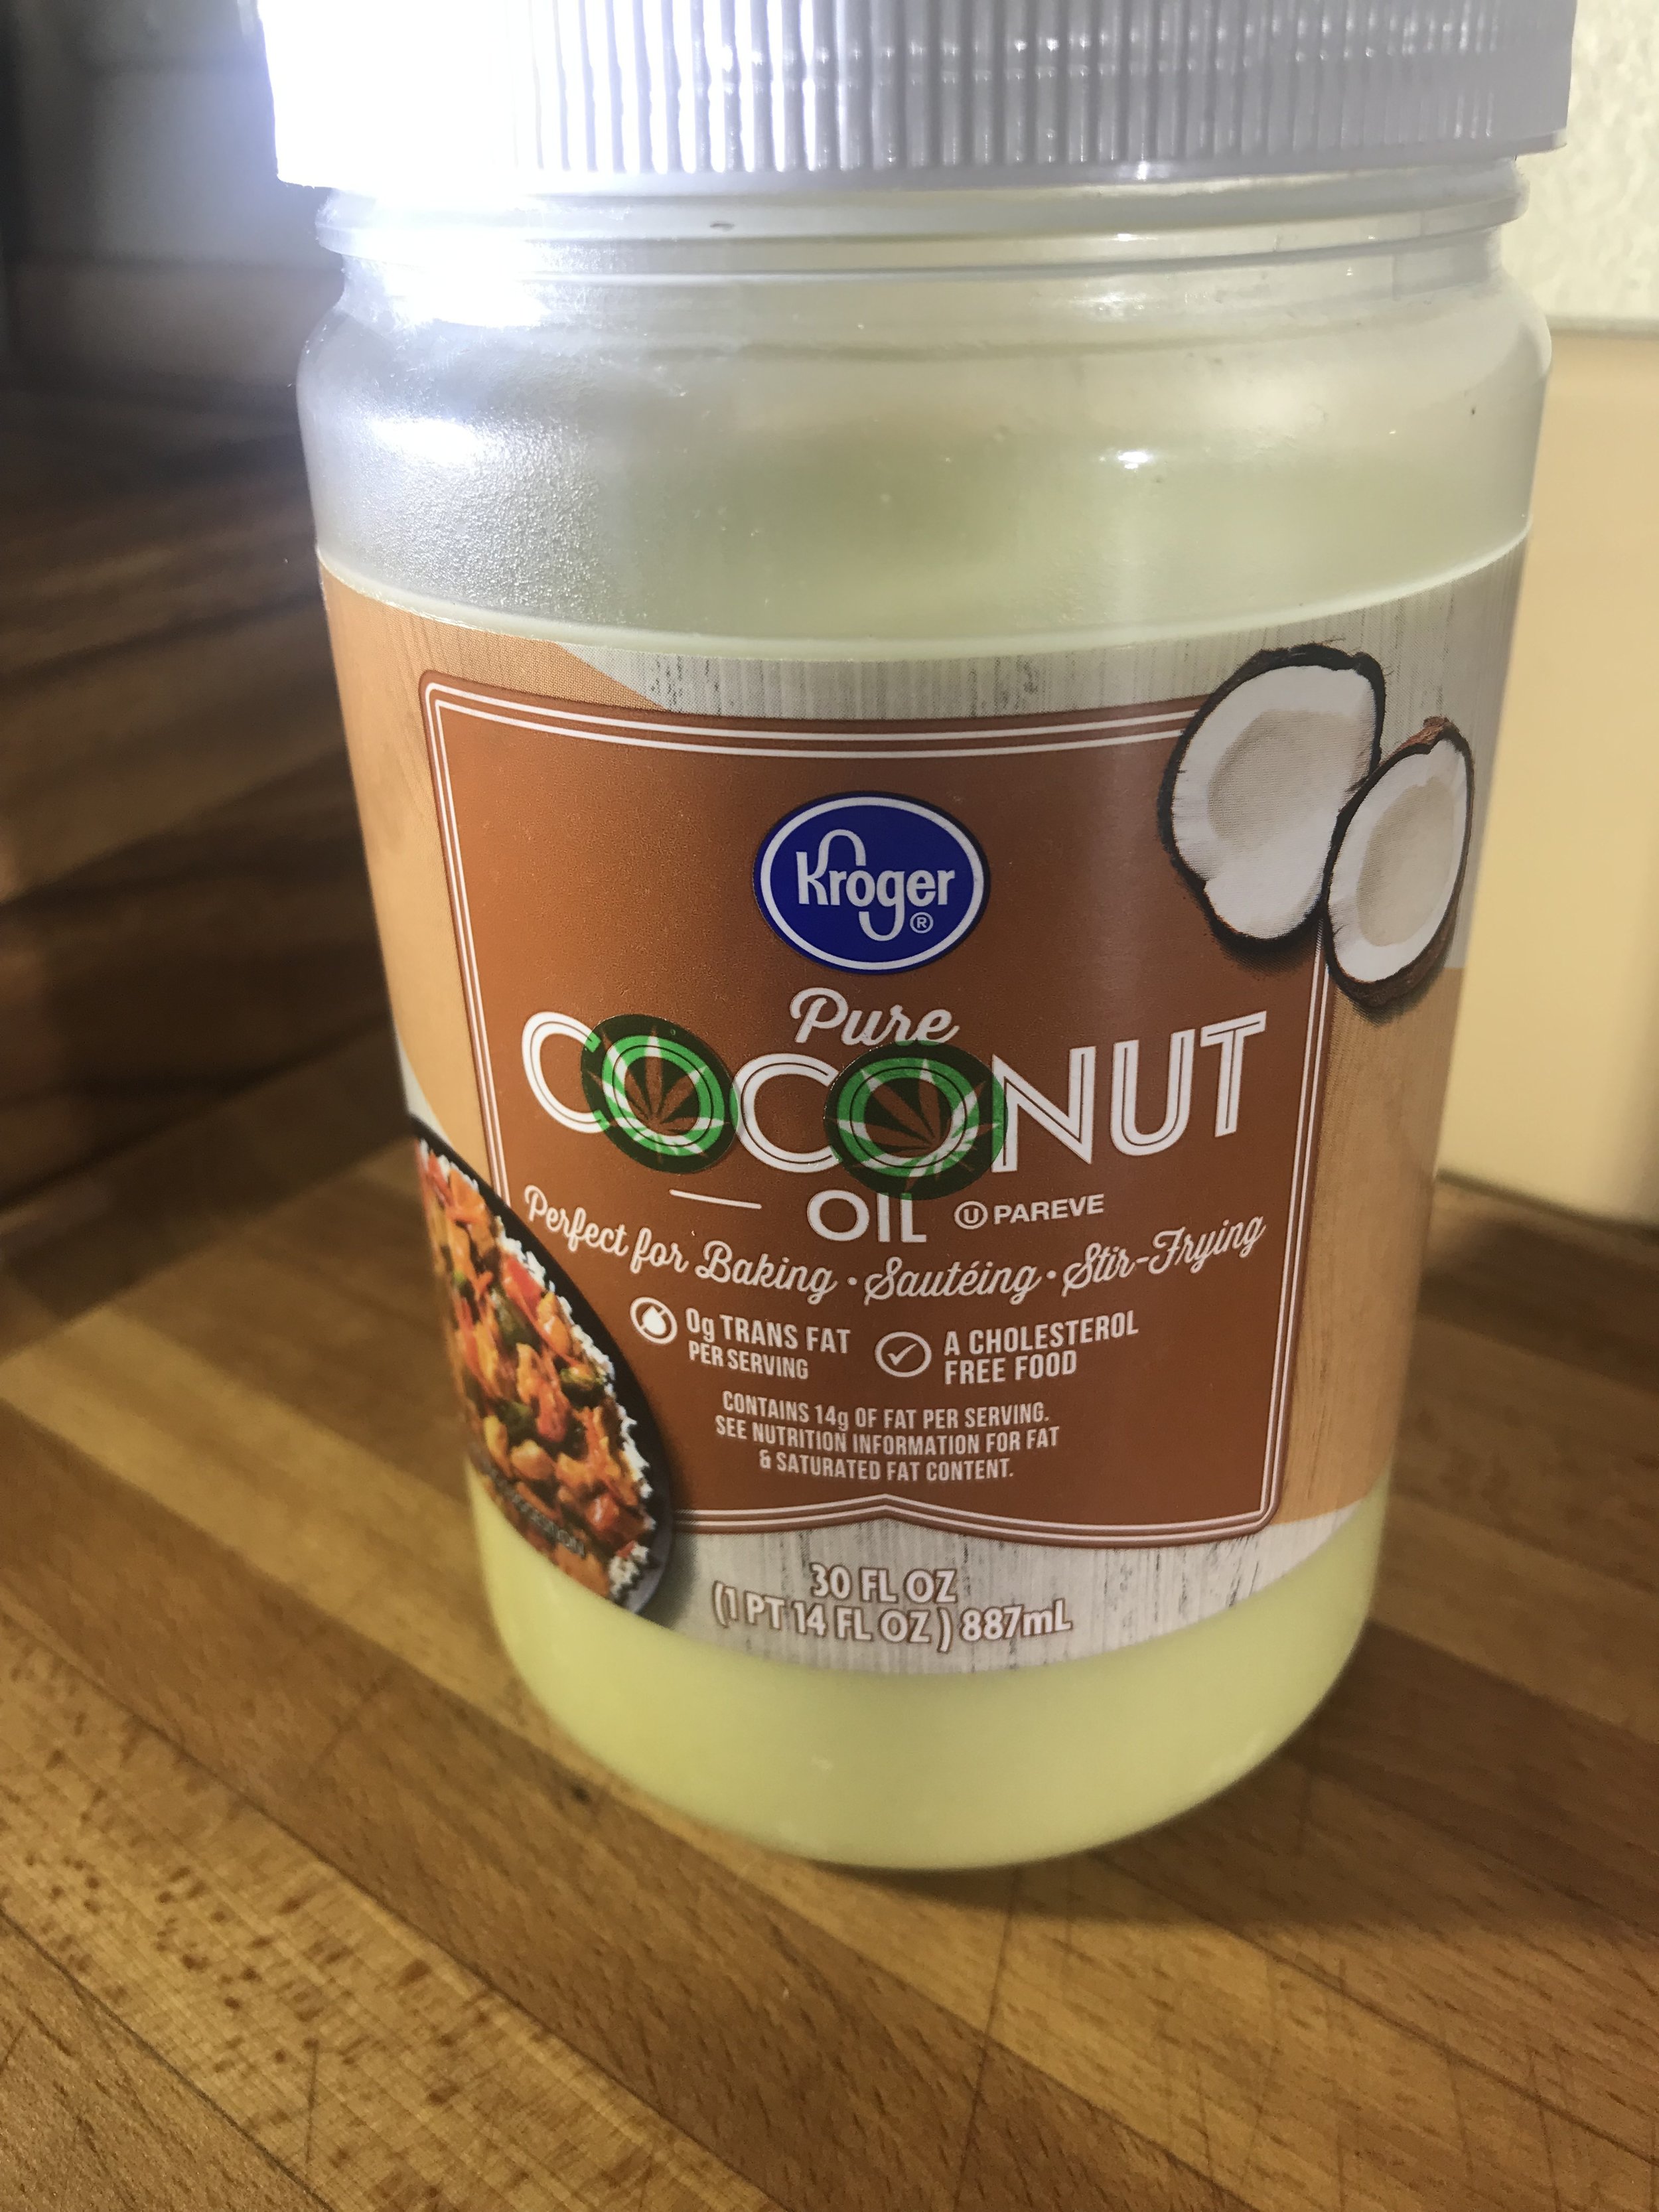
Once you have filtered your oil, you can pour it into your end container. For this project, I poured the oil back into the original coconut oil container. However, in the future, I’m going to leverage a glass mason jar so that I’m not at risk of getting plastic particles in my cannabis mixture.
As you can see, my final yield wasn’t the full 30 oz of oil that I had started with. Instead, the finished liquid ended up just being slightly higher than the label, likely between 27 and 28 ounces.
Within a few hours, the emerald-green liquid that you create will turn into a calming, jade green. It’s like your own, natural Frankenstein. At this stage, I also recommend adding some stickers or labels to indicate that your oil does, in fact, contain cannabis. This can be especially important if you live with housemates, children, or elderly people. Plus, it makes the final product look that much more 420 friendly and festive.

Beautiful emerald oil!
Be sure to clearly label your product so an unsuspecting friend doesn’t have an oopsie.
With regard to storage, you can store canna-infused bases in a cool, dry place. I am planning to keep my oil in the fridge, but a cool cupboard could work, as well. Be sure that the container is tightly sealed so that quality is not compromised. Over time, if the mixture has too much exposure with air before use, the cannabinoids can start to degrade. However, if stored correctly, cannabis oils and butters can last up to 6 months.
While I typically use my cannabis-infused bases for edibles or infused meals, I think I may try to use this cannabis-infused coconut oil to add to some homemade skin-care products. So, before you create your concoction, I would recommend considering whether or not the selected product allow you to use it in more than one application!
Let me know if you have any questions about making canna butters or oils! I’m still refining the process each time I complete it, so I’d also love to hear if you have any tips or tricks with regard to selecting the ingredients, de-carbing, processing, or how to use your cannabis-infused products.